Guest Post: How To Paint Interior And Exterior Doors

Here is a great post for those of us who want to give our home a new look without breaking the bank! Thanks Russ for sharing your knowledge with us. For more great home project posts check out his blog at PropertyWorkshop.com!

How To Paint Interior And Exterior Doors
Are your doors looking a bit worse for wear? Would you love to freshen them up, but hate the idea of removing them from the hinges and spending forever getting the brushstrokes right?
The good news is that painting doors is a lot more straightforward than is often thought. In this article we’ll show you how to paint a doorstep by step, giving you easy and professional results without the hassles.
Cost Approx: $100
Time: One Day
Difficulty: Easy
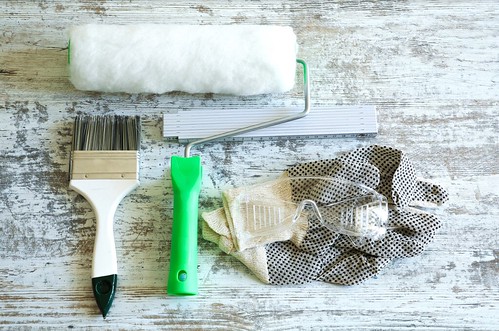
Tools and Materials

This is our master list, but you may not need all of it depending on what you already have and if you need to perform certain steps.
Drop sheets or cloths
Work gloves, if desired
Dust mask
Scraper
Wood and/or metal filler
General household cleanser
Sandpaper (roughly 200 grit)
Masking tape
Paintbrushes, 2 or 3
Water and rags
Mini roller and some foam sleeves
Painting tray for roller
Stirring sticks
Primer (1/2 liter per door)
Paint (1 liter per door)
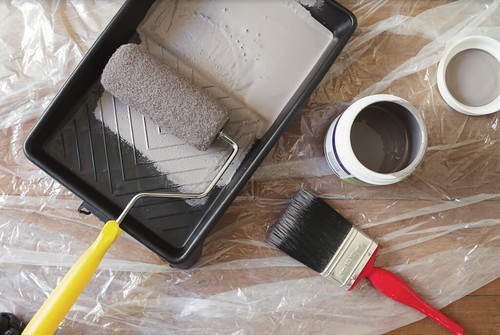
Why both paintbrushes and a roller? You can get by with one or the other, but this project is easier if you have both. A brush is superior for reaching inside the corners of any panels on a door and for outlining the edges cleanly. A roller, on the other hand, is great for both saving time and giving unmatched smoothness.
What kind of paint and paint finish should you use?
To some extent, this will be determined by what paint is already there, if you aren’t removing it or adding a primer layer. An oil-based paint shouldn’t be applied on top of a water-based paint and vice versa, even if the colors are compatible.
Apart from that consideration, water-based paints are ideal for interior use as they have less odor and clean up easily. On the other hand, oil-based paint is generally more durable, making it a good option for exterior doors.
As for the finish, remember that the glossier it is the less it will wear but the more it will show brush strokes. A good compromise is a satin, silk, or eggshell finish, but it really depends on the look you’re after. Here’s more on paint finishes from the experts at Dulux.
Pro tip: How can you tell if the existing paint is oil or water-based? Apply isopropyl alcohol to a small area. If the pain starts coming off, you know it’s water-based.
To prime or not to prime
For exterior doors, it’s usually a good idea to use a primer as it increases paint adhesion and therefore long-term durability. It’s also an extra layer sealing the door.
Your interior doors, however, can often be painted without priming. There are exceptions, though: if you’re removing the existing paint down to the bare wood, or–as previously noted–if you’re putting oil paint over latex or vice versa.
Use a water-based or acrylic primer, as these are compatible with both oil and water-based paints, so you’re covered either way.
Step-by-Step: How to Paint a Door
The process of painting interior and exterior doors is almost the same, with some special considerations for exterior doors that we’ll note when applicable.
1. Prepping your work area
Don appropriate clothing and gloves, then lay down your drop sheet(s) and gather your tools and materials. Open windows or doors to ventilate the area. If you’re working on an open door, immobilize it with a door stopper or chair.
2. Taping off hardware
Taking strips of masking tape, cover door handles locks, and hinges–basically anything you don’t want paint on. If you’re painting a closed-door, tape off the edge of the frame as well.
For exterior doors: If your doors have glass sections and you don’t want to put tape on them, there’s a product called liquid mask that can be brushed onto the glass. It peels off when dried, including any paint you get on it.
For more information on how to prepare for a messy painting job, check out this post: Painting A Room With No Mess – 27 Top Tips.
3. Stripping old paint (if needed)

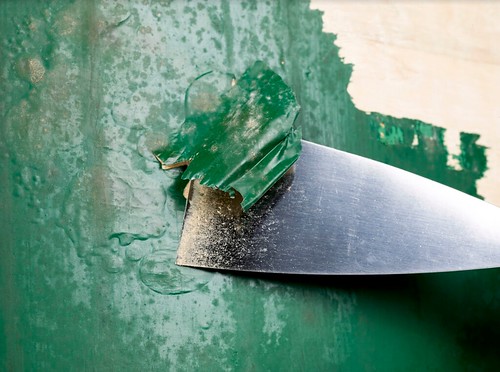
Lay down some additional drop sheets or newspaper as this part gets messy. Apply a thick coat of paint remover to the door. Be very careful with this chemical and use a designated vessel and brush that you won’t reuse for anything else. After 5-10 minutes, the old paint should be bubbled and loose. Use a scraper to take off the paint and wipe the door with a cloth dipped in warm water.
Special note: Depending on the age of your door, its paint may contain lead, which was used into the mid-1960s. Stripping or sanding lead paint poses a serious hazard. If you suspect your door has lead paint, please refer to this pamphlet published by DEFRA.
4. Patching up holes/damage (if needed)
Before moving on, you’ll want to repair any holes or gouges so you can paint on a nice even surface. After using a wood filler product, let it dry and then sand the area flat. There are numerous kinds of wood filler available, here is a video showing how to use an effective 2-part filler that includes a hardening agent.
For exterior doors If your door is metal and needs repair, the process is basically the same but with a metal filler product. Here’s a video showing how a common filler is used.
5. Cleaning
Any kind of dirt, oil, or gritty material on the door should be removed with a general household cleaner. Otherwise, the paint’s finish will look and feel uneven or may flake off. Let the door dry before moving on.
For exterior doors: Because they’re exposed to the environment, cleaning an exterior door may require more effort. Use a wire brush or steel wool to remove any corrosion from the hardware, and a bleach solution for any mildew spots.
6. Sanding
Don your dust mask, then, using a folded sheet of 200-grit sandpaper, start at the top of the door and sand the surface, applying moderate force. Work your way down the door, making sure to get the sandpaper into the nooks and crannies around its panels.
If you’re wondering about the many kinds of sandpaper and abrasives available, here is an expert’s guide to what’s available.
When you’re done sanding, wipe or brush any remaining dust from the door.
Pro tip: Wrapping your sandpaper around a block of wood creates a larger, flatter sanding surface contacting the wood, giving excellent results and saving a little time.
7. Applying primer (if needed)
Use a stirring stick to stir the primer, ensuring an even consistency. Most primers tend to be thick, so really load your brush up then begin applying it to the door. Focus on covering the surface, then go back and smooth it out with longer up and down strokes.
After letting the door dry (at least 2 hours), you’ll need to sand it again before painting.
8. Applying paint

Finally, it’s time to paint your door! As with the primer, give the paint a good stir. Start applying paint to any paneled sections of the door, using a brush to get coverage on those uneven surfaces. Here’s a visual guide to painting a door with lots of panels.
Pro tip: If you don’t want to use a brush at all, use the edge of a roller to dab paint into panel recesses it normally wouldn’t reach.
After the panels are done, switch to a roller to go over the whole door, laying down long, smooth lines of paint. If you can see grain lines in the wood, make sure you’re moving in the same direction they run.
When the door is dry, apply your second coat. Take your time with this final layer–the compliments you’ll get will be worth the effort.
For exterior doors: Plan to paint outdoors when the temperature is between 10 and 30 degrees Celcius. Remember that on warm days paint will set faster.
On a similar note, if you’re using oil-based paint, it will set faster than water-based paint under most conditions. To give yourself more time, add paint thinner, and work in sections to make sure you get the finish you want before it dries.
Pro tip: Remove the masking tape from your hardware before the paint is dry so it doesn’t pull dried paint with it.
And there it is! Your door is good as new. We hope you found this guide useful, and that it’s given you confidence in approaching do-it-yourself improvements around your home. Fresh doors are a great start, now look around the site for other projects to take on!


I love this post because I will be doing a lot of painting this year. I hope to change every room and outside some too. Thank you
That’s a very thorough how-to. I think the detail work really makes the finished job look great.
I really appreciate this information. I have to do some painting around my house soon. Thank you for sharing
Very informative post, thank you so much for sharing! Our old house could definitely use some repainting!